Welcome to Cellbie Support
This page contains lots of answers to commonly asked questions. If you don’t find what you’re looking for, please use the form at the bottom to ask your question. We’ll answer your question and add it to this page.
The GPS Signal Status Test requires iOS Location Services to be On. To ensure this is the case, go to Settings/Privacy/Location Services.
Grading devices is very important because Buyers keep their prices high when they trust that we’ll grade devices fairly. Here are a few tips:
- Check first for water damage. If a device is water damaged, you don’t need to worry about anything else. You won’t be asked to give the device a cosmetic grade once you indicate that it has water damage.
- Look at the phone from the side to ensure that it isn’t bent. If the device is bent, check the box indicating that the device is water damaged or bent.
- Check the screen carefully. You’re looking for cracks, chips or deep scratches. A desk lamp is helpful when checking screens, as the reflection can be used to identify problems. If the screen is scratched badly enough that it would be annoying to use, you should check the questionnaire box indicating that the screen is severely scratched. If the screen is loose (when you press on it you can see it move relative to the body of the device) you should indicate that it’s broken. A loose screen is usually the result of a poor screen replacement and the Buyer will probably have to replace it again.
- Check the body of the device for scratches and dents. Reference the Device Condition Matrix on the Resources page of your Cellbie account to determine which cosmetic grade to choose.
- Although it’s technically possible to process a phone with multiple problems (e.g. cracked screen and broken back) as Unacceptable condition, please process these phones as Recycles using the Broken flow. Such devices are almost always beyond economical repair and do not justify Unacceptable pricing.
If you always follow these steps and stick to the guidelines in the Device Condition Matrix, you should expect great feedback from Cellbie Buyers!
Modern phones can store up to 256 GigaBytes of data on them. Transferring anything more than a few GB of data can take several hours. In most cases, if the transfer status shown on the screen indicates that the transfer is still progressing, then it’s just a matter of waiting for the data transfer to complete.
To minimize the time taken by content transfer, encourage your customers to activate their iCloud or Google account and sync their data to their account. This will enable them to sync their content to their new device by simply activating the account on it.
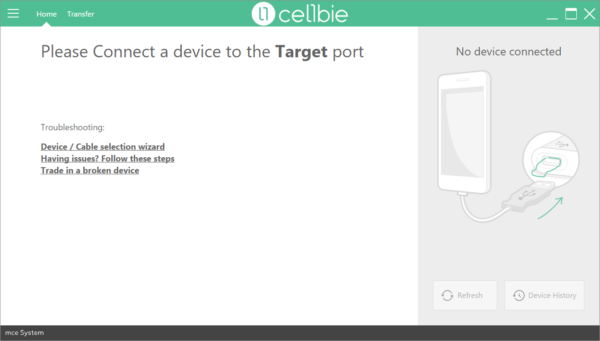
To recognize a device, launch the Device Processing tool and ensure you are on the Home screen. Verify the device is not screen locked and that it has passed the setup screens. Now, using a standard OEM or Cellbie-provided cable, connect the device to the cable and then the cable to the Target port of the USB hub.
Once the device is connected, the Device Processing tool should automatically recognize the device; a popup will appear giving you instructions if there are any actions you need to take to prepare the device.
If you’ve plugged a phone into your device processing hub, but you’re seeing the following screen, please take the actions described below. After each step, check to see whether the device has been recognized.
- Ensure the USB hub power cord is connected to the hub and to a power outlet.
- Disconnect the phone from the Target port and re-connect it.
- Disconnect the hub from the PC and re-connect it.
- Close and re-start the mce software.
- Re-start the PC.
If none of these steps is successful, it’s possible that the USB drivers on the PC have been corrupted. If you are confident troubleshooting driver problems, follow the common steps. If not, email Cellbie Support at support@cellbie.com.
Once a device has been recognized, there are steps that must be taken before starting a content transfer, diagnostic or device trade-in.
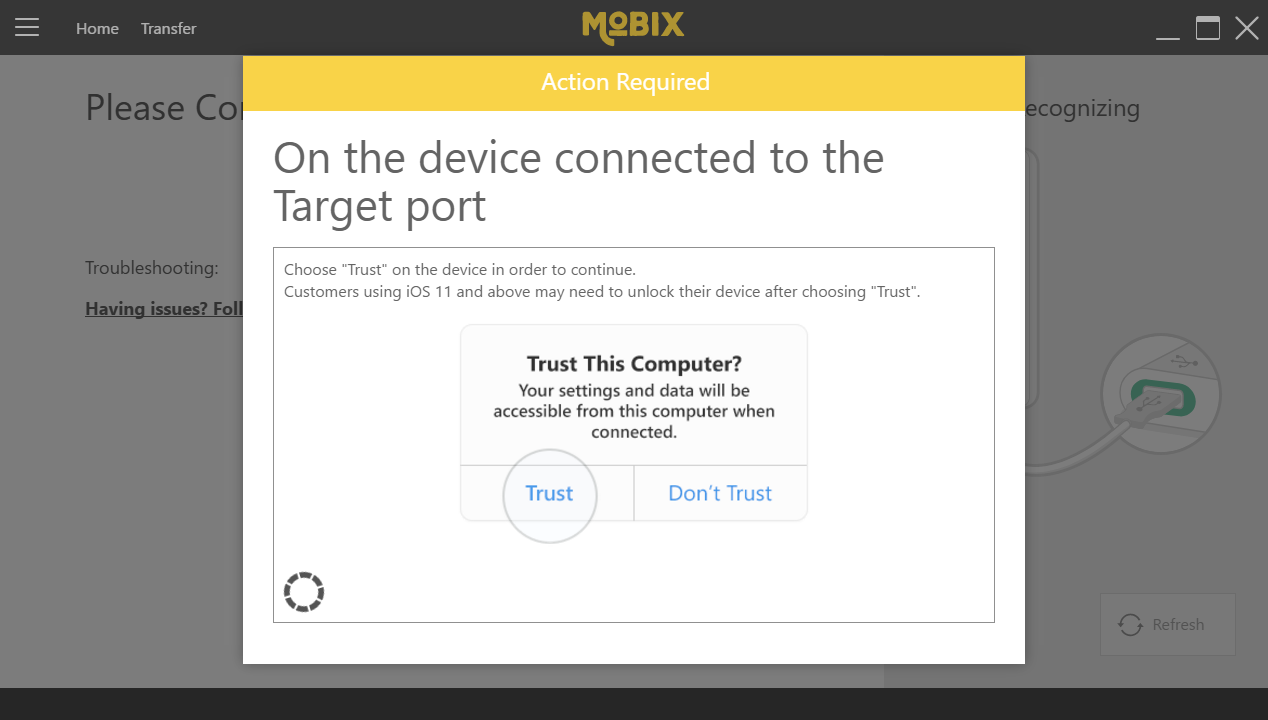
Trust the connection:
iOS, approve on the device.
Android, check the “Always allow connection to this computer” and select “OK”.
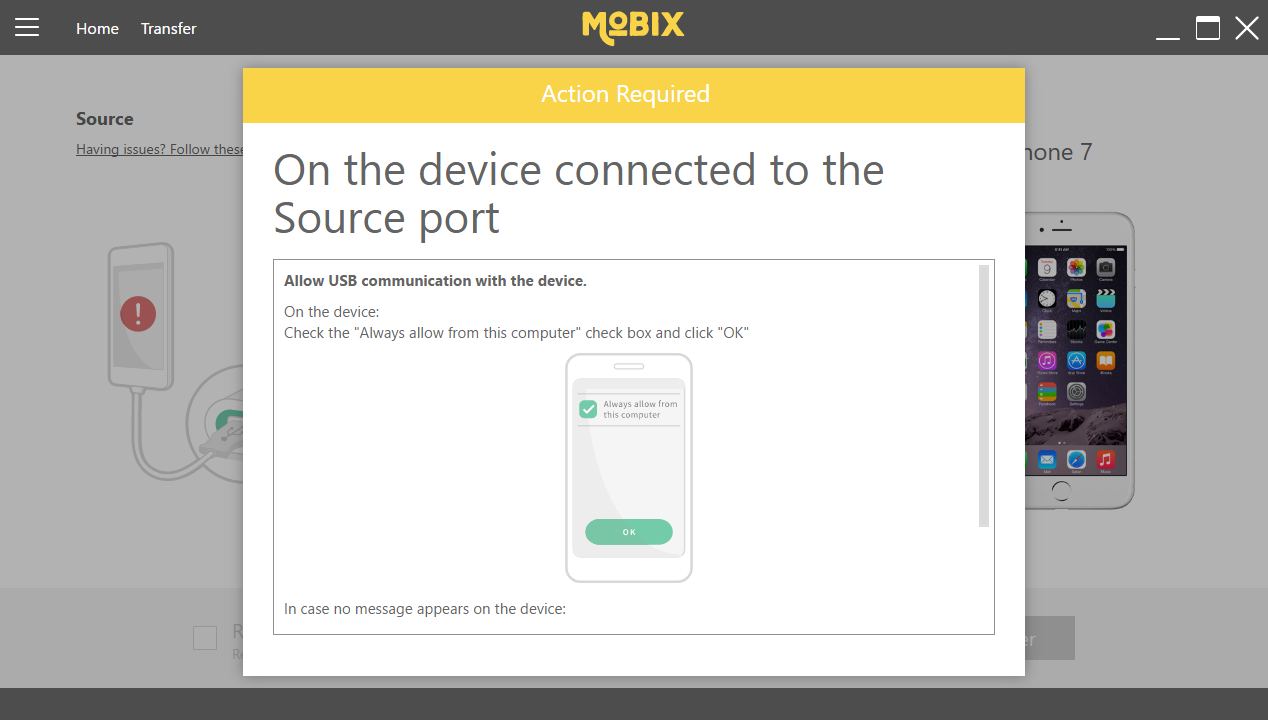
USB Debugging:
Android devices require the USB debugging option to be enabled in order to communicate with Cellbie. On screen instructions will guide you to enable this setting. It usually requires that you go to the settings menu, select “about device”, press “Build Number” 7 times to enable the “developer options” in the settings menu, and then locate and enable “USB debugging”.
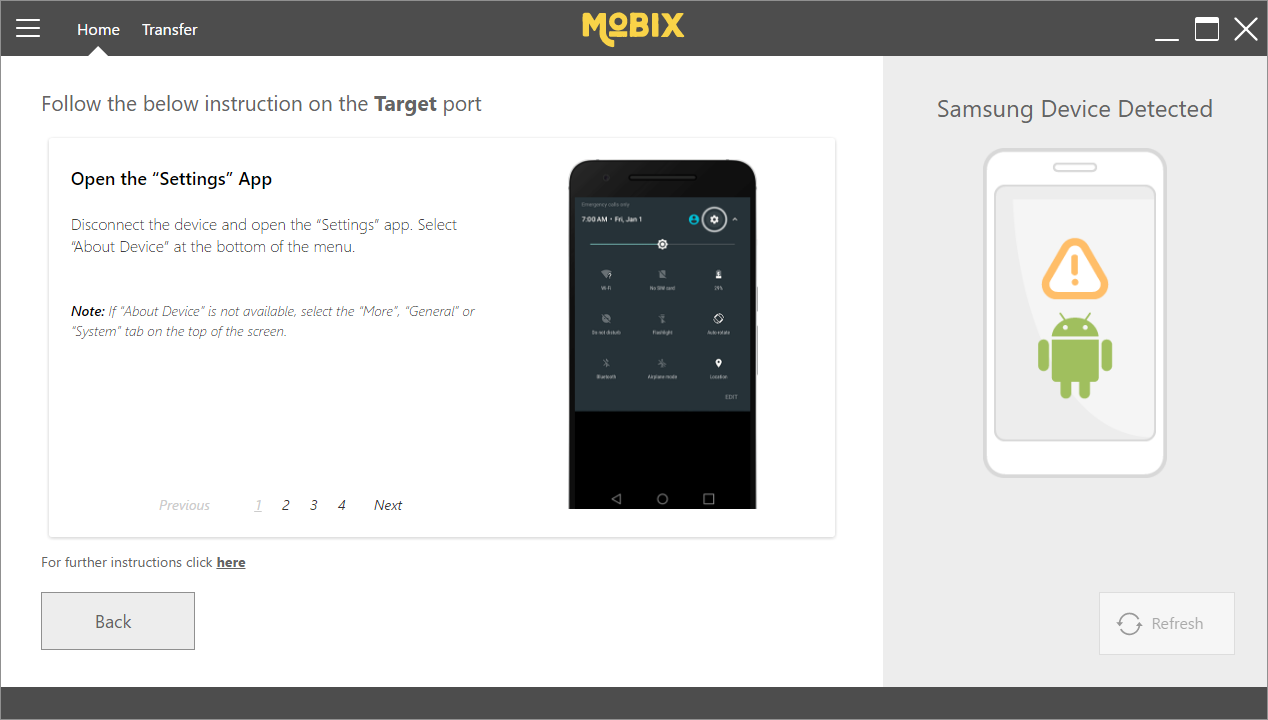
Once the device is recognized, you can select and begin your desired operation.
In order to fully uninstall the software, please follow these steps. If you are uncomfortable un-installing software or editing the Windows Registry, please contact Cellbie Support at support@cellbie.com:
1. Uninstall MCE2.0 from the Control Panel
2. If the MCE-100 folder (C:\Program Files (x86)\MCE-100) remains, please delete it.
3. Open the PC Registry (regedit) and delete the mce info:
- hkey current user > software > MCE
- hkey local machine software > MCE (if not found in software directly, open sub category wow6432node)
Follow the mce installation instructions here.
Prior to installing the mce device processing tool on a new PC, please contact your Cellbie account representative to ensure that sufficient licenses are available to support an additional instance.
To install the mce device processing tool, please follow the steps outlined below.
IT Requirements
Before installation begins, please ensure the following requirements are met:
- Minimum PC/Hardware: CPU-i3 or equivalent, RAM-2GB, HDD-2GB free space
- Administrator privileges (your Windows user account)
- An open connection to the Internet
- mce Starter kit: mce Hub, Power adapter, set of USB cables
- Make sure you have some handsets (at least one Android and iOS) available for test
mce Software Download link (note: we recommend the Chrome browser for this download):
You’ll need your Product Key. If you don’t have your Product Key, please email Cellbie Support at support@cellbie.com.
Software Installation Steps:
- Click the mce Software Download link above and enter your assigned Product Key when prompted (Hint: cut & paste the key to avoid typos)
- Follow the prompts to complete the installation.
- Launch the application from the “mce Systems” shortcut created on your Desktop.
- Follow the prompts to activate your license.
- Connect the USB hub to AC power and connect it to a USB port on the PC.
If you encounter problems, please contact Cellbie Support at support@cellbie.com.
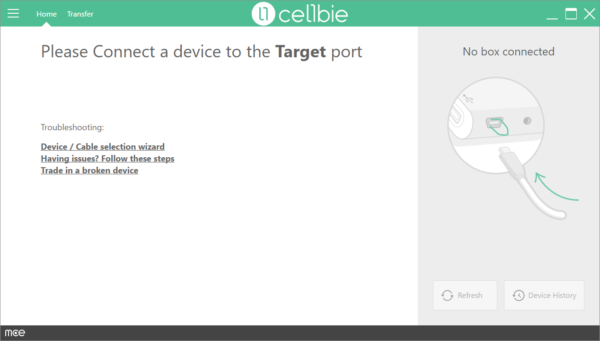
Your mce hub is connected to your PC, but isn’t recognized. You’re seeing this screen:
Please take the following steps one at a time to see whether they correct the problem:
- Is your mce hub connected directly to the computer via an operational USB cable? If not, please connect it.
- Disconnect the hub from the AC adapter.
- Disconnect the USB cable from the PC, wait for approximately 30 seconds and reconnect it.
- Connect the USB cable to other USB ports on the computer (including the port used for mouse\keyboard). Did this solve the issue? If so, this means that the USB port that the hub was connected to is not functioning properly.
- Do you have another mce hub? If so, please try to connect it to the computer. If it solves the issue, please escalate this hardware issue, so that your mce hub can be replaced.
- Please reboot your computer and try again.
- Do you have another computer where mce’s software is installed? If so, please try to connect the hub in question to it. If the hub is recognized on the new second PC, the hub is not defective. Please try to re-install the software on the PC that has the problem, as it will probably solve the issue.
If none of these steps is successful, please contact support at support@cellbie.com.
Call for Help!
If you didn’t find what you were looking for anywhere on this page, please use this form to let us know how we can help you.
